Updated February 1, 2024
Are you looking for an easy Ground Hog’s Day activity?
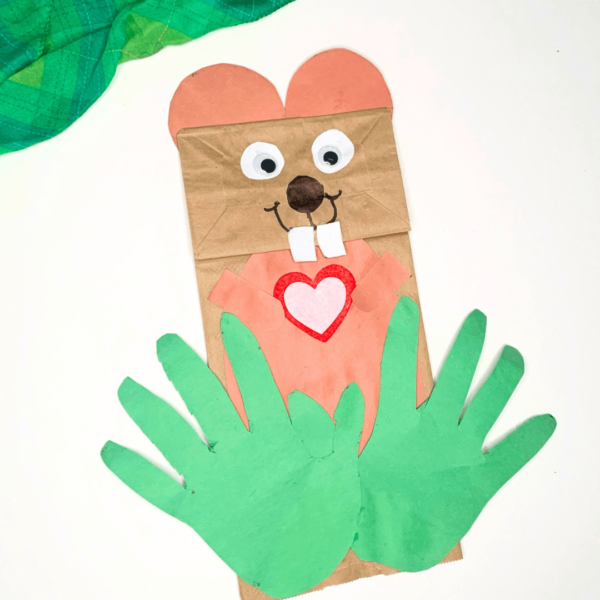
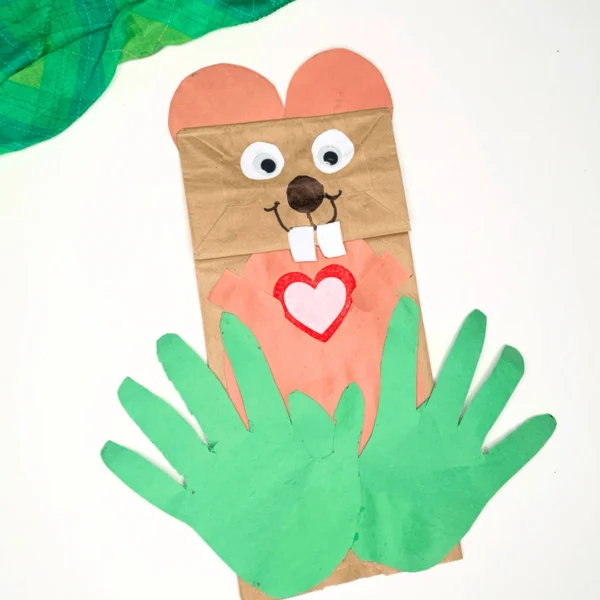
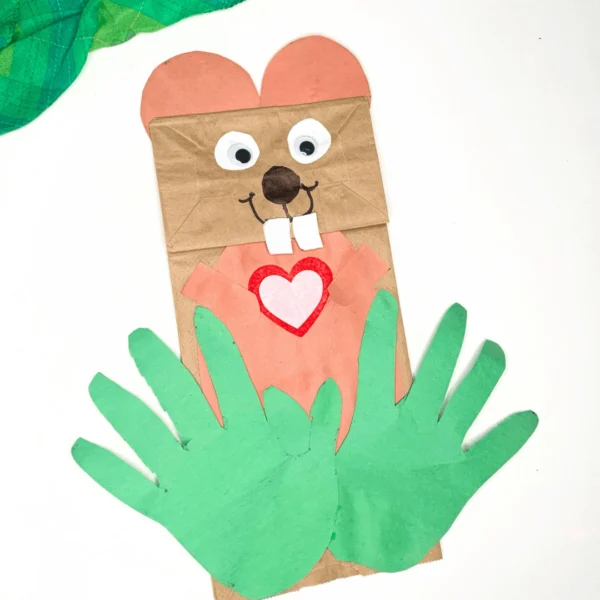
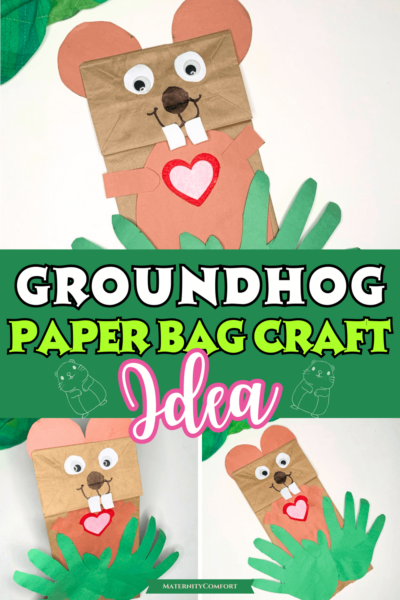
We made a simple handprint groundhog paper bag puppet craft with our kids to kick off our February toddler activities!
It was a hit and we had all the supplies on hand, I bet you do too!
This is also a fun spring craft for toddlers and preschoolers and you don’t need to worry about printing out any templates.


Easy Groundhog Paper Bag Puppet
Supplies Needed:
- 1 brown paper bag
- Construction paper in various colors: brown, pink, white, red, and green
- Googly eyes
- Black marker
- Scissors
- Glue stick or liquid glue
- Pencil (for tracing)
- I did not create any templates for this craft. It is not needed for this project, I promise.
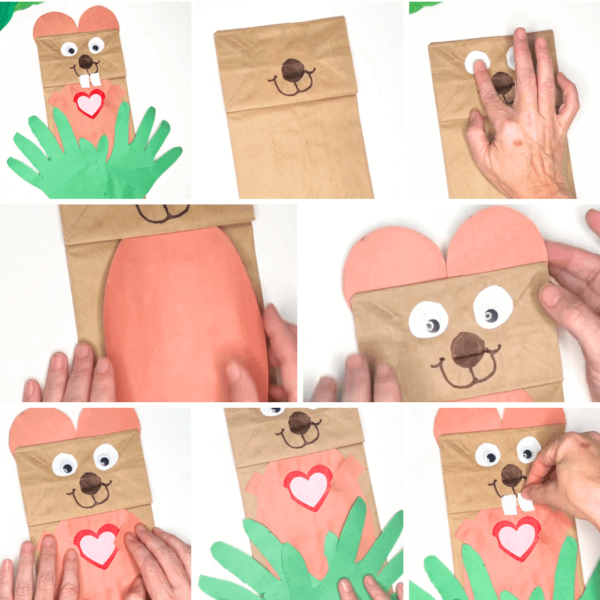
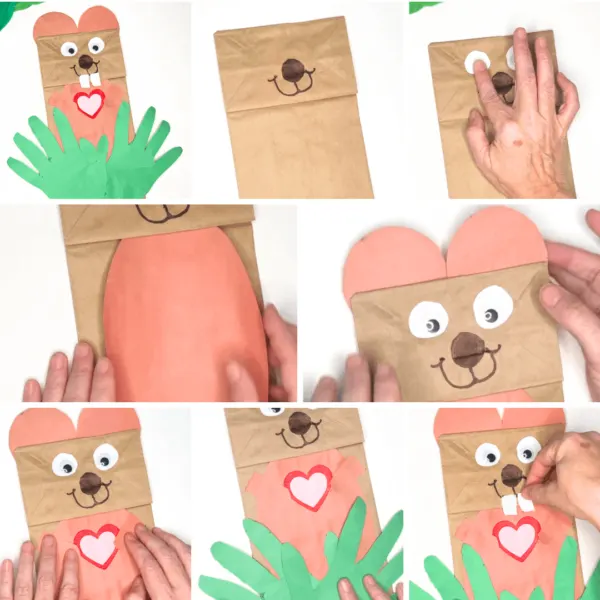
Instructions:
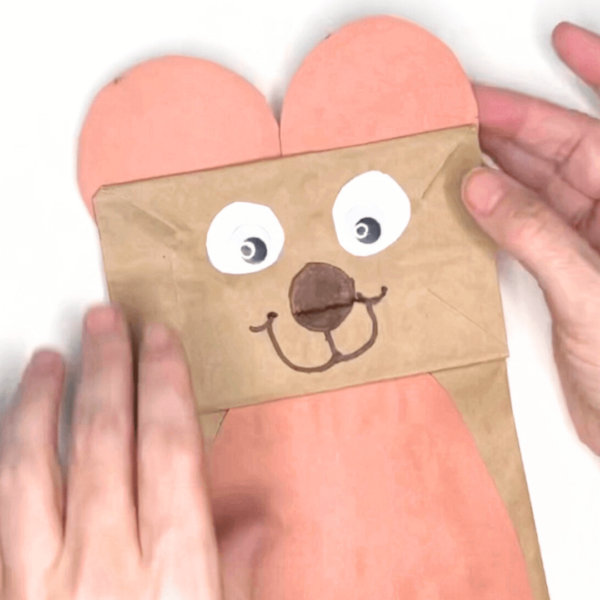
- Prepare the Paper Bag:
- Lay the brown paper bag on a flat surface with the bottom of the bag facing up, which will become the face of the groundhog.
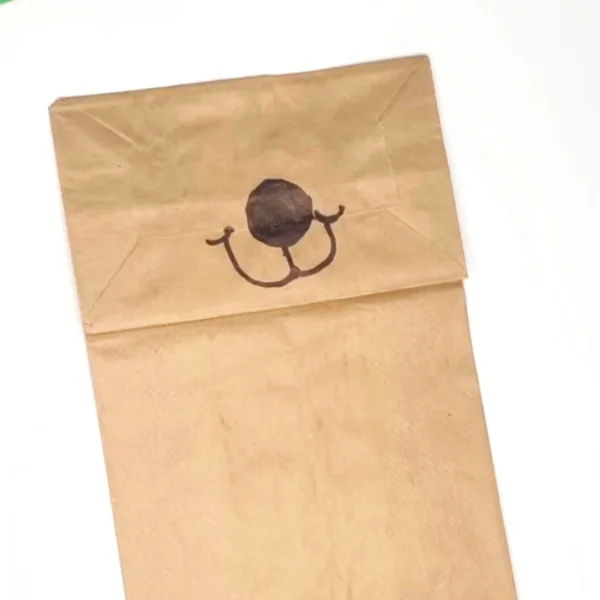
- Draw the Face:
- With a black marker, draw a nose and mouth directly onto the bottom flap of the paper bag.

- Add the Eyes:
- Stick two googly eyes above the nose. I cut out two circles from white paper to make the eyes pop more.

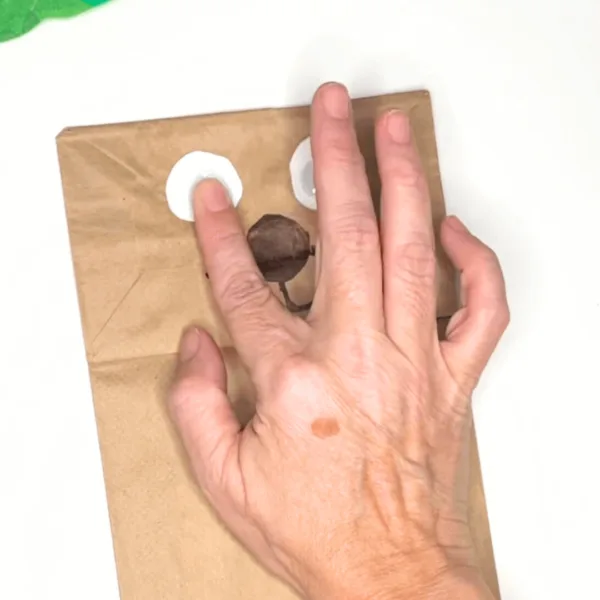
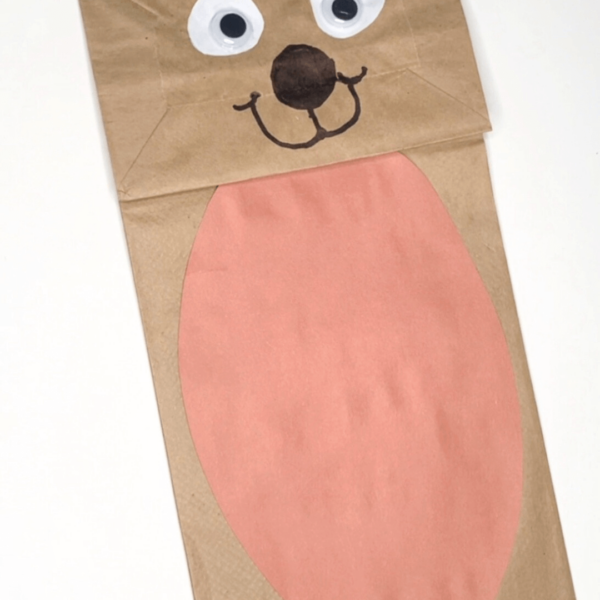
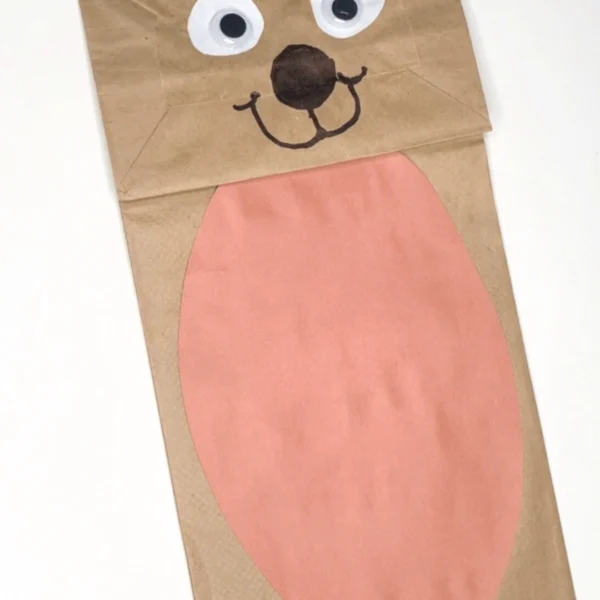
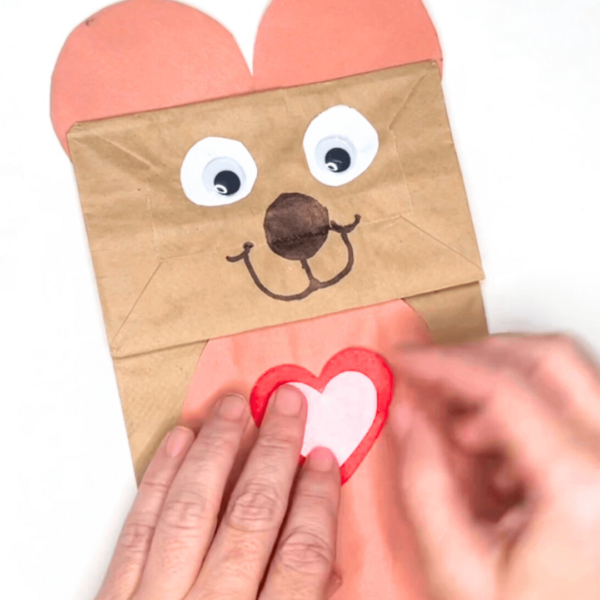
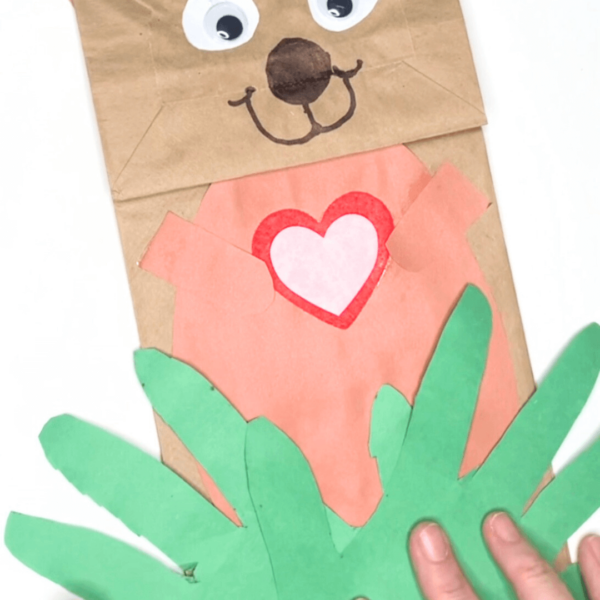
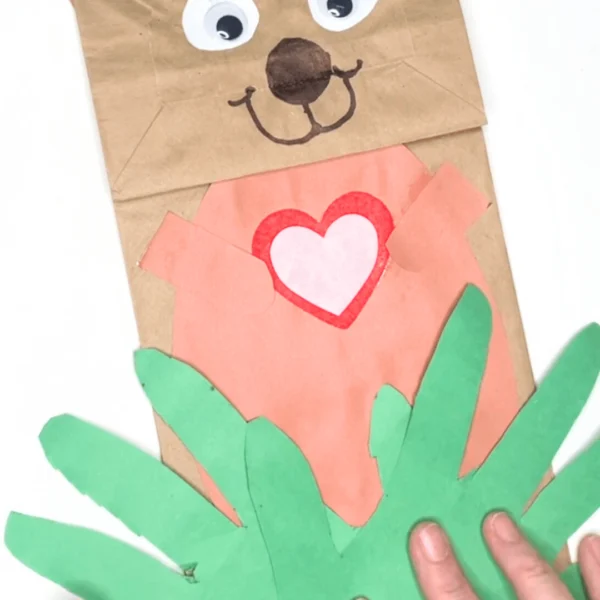
- Create the Body:
- Cut a large oval shape from brown construction paper, which will be the groundhog’s body.
- Glue the oval onto the main part of the paper bag.


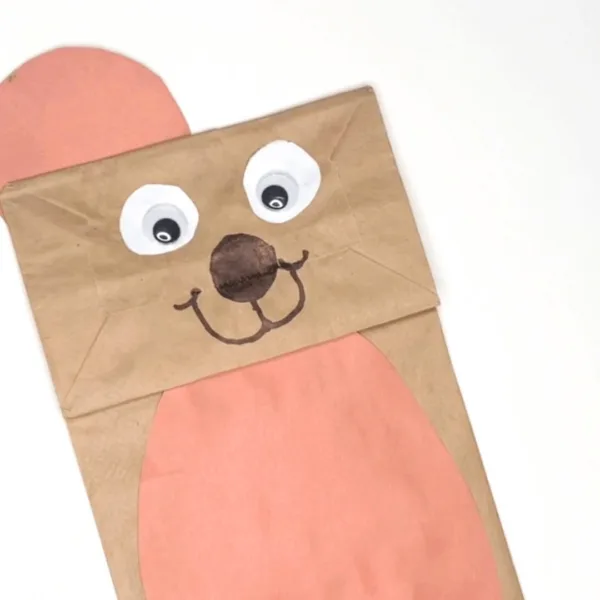
- Make the Ears:
- Cut two small circle shapes from brown construction paper for the ears.
- Attach the ears to the back of the bottom flap so they pop up when the flap is lifted.


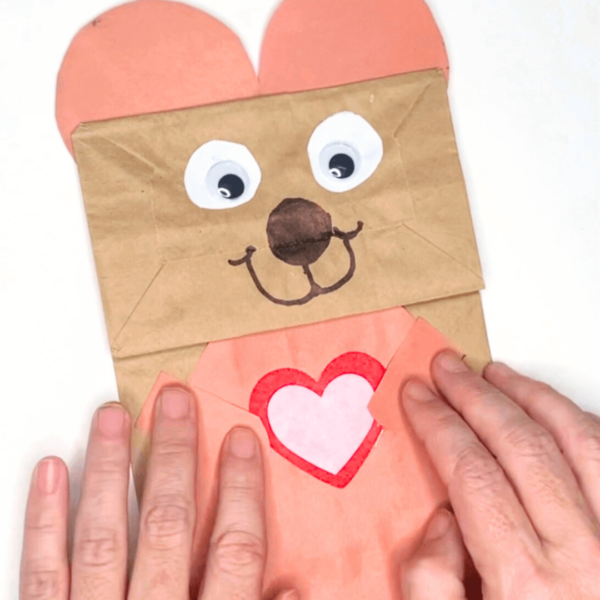
- Add the Heart:
- Cut a medium-sized heart from red construction paper and a smaller one from pink paper.
- Glue the pink heart onto the red heart and then glue this combined heart onto the groundhog’s body (pink oval).

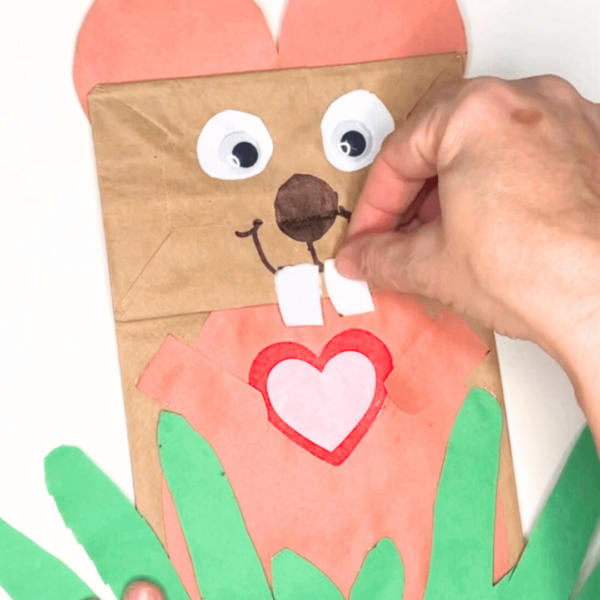
- Create the grass:
- Trace your hands on green construction paper and cut out the shapes.
- Glue the handprint cutouts to each side of the paper bag body.

- Teeth and Details:
- Cut two small rectangles from white construction paper for teeth.
- Glue these beneath the nose.
- You can also add additional details with a black marker if needed, such as whiskers or a tongue.

- Glue the handprints on the bottom of the bag
- Final Touches:
- Once all the parts are in place, go over any lines or details with a black marker to make them stand out.
- Press down on all glued areas to ensure they are well attached and allow the puppet to dry completely before playing with it.

Tips for Crafting with Toddlers and Preschoolers:
- Preparation is most important:
Before inviting your little ones to join in on the fun, take a few moments to pre-cut the construction paper shapes.
This not only makes the process smoother but also keeps their focus on the excitement of assembly and decoration!
- Safe Crafting:
Always supervise your little crafters, especially when using scissors and glue.
For toddlers, non-toxic glue sticks are a safer option, and they’re easier for tiny hands to manage.
- Encourage Autonomy:
Give preschoolers a bit of autonomy by letting them choose where to place the googly eyes or how big they want their groundhog’s smile to be.
It’s a wonderful way to boost their confidence.
- Fine Motor Skills:
This craft is perfect for practicing fine motor skills.
Encourage your child to pick up small pieces of paper or stickers. These actions are not just fun but also great for development.
- Keep It Simple:
Simplicity is key for maintaining the attention of younger children.
Don’t worry about perfection; celebrate their efforts and the joy they find in creating something themselves.
- Incorporate Learning:
Turn the craft into a mini-lesson about groundhogs, shadows, or even colors and shapes. ‘
Can you find the oval for the groundhog’s tummy?’ This kind of interactive talk enriches their learning experience.
- Praise and Positivity:
Celebrate each step they complete, no matter how small. Positive reinforcement goes a long way in nurturing their love for arts and crafts.
- Time Management:
Young children may have shorter attention spans, so it’s a good idea to have all your materials ready and possibly split the craft into shorter sessions if needed.
- Mess Management:
Crafting can be messy, which is often part of the fun!
Lay down some newspaper or a wipeable tablecloth to catch glue drips and paper scraps, making cleanup easier.
- Enjoy the Process:
Remember, the goal is to have fun and create memories together.
Don’t worry if the puppet looks more like an abstract art piece; if your child is smiling, then it’s a masterpiece!

Idea Variations for your Groundhog Craft
- Colorful Groundhogs:
Who says groundhogs have to be brown? Challenge the norm! Let your child pick their favorite colors to decorate their puppet. A purple groundhog with orange spots? Why not! It’s all about creativity and personal expression.
- Seasonal Attire:
Depending on the time of year, your groundhog could don different accessories.
A tiny Santa hat for December, a spooky cape for October, or a flower crown for springtime festivities can all add seasonal cheer.
- Texture Exploration:
Introduce different textures by using materials like felt, cotton balls, or fabric scraps.
These can be glued on to create a furry effect or to add dimensional elements like a fluffy tail.
- Interactive Features:
Make your groundhog puppet even more interactive by adding elements that move.
A mouth that opens, arms that wave, or legs that dangle can all be fun for puppet playtime.
- Dress-Up Fun:
Create mini outfits for the groundhog that children can change.
Paper overalls, dresses, or uniforms can make the puppet play more engaging, and it’s a sneaky way to practice those fine motor skills.
- Environmentally Friendly:
Encourage eco-friendly practices by using recycled materials.
Old newspapers, fabric scraps, or bits of ribbon can all find new life in this project.
- Themed Groundhogs:
Is there a favorite story or movie character your child adores?
With a few tweaks, your groundhog can be transformed into a beloved character, promoting storytelling and role-play.
- Glitter and Glam:
For kids who love a bit of sparkle, offer glitter glue or sequins to decorate their groundhogs.
A little shimmer can make their craft feel extra special.
- Sensory Play:
Include sensory elements such as a patch of sandpaper for a rough touch or a piece of silk for a smooth feel.
It’s a groundhog that appeals to the senses!
- Family of Groundhogs:
Why stop at one? Create a whole family of groundhogs, each with distinct features.
Maybe one has glasses, another sports a bow tie, and a third loves hats. It’s a fun way to discuss family dynamics and diversity.
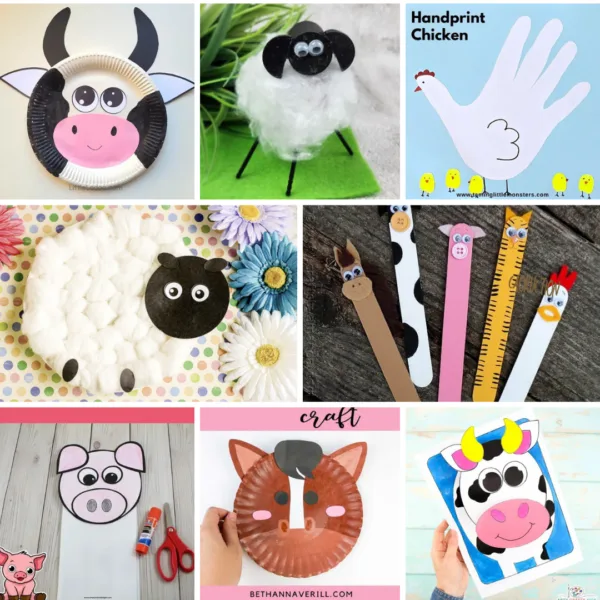
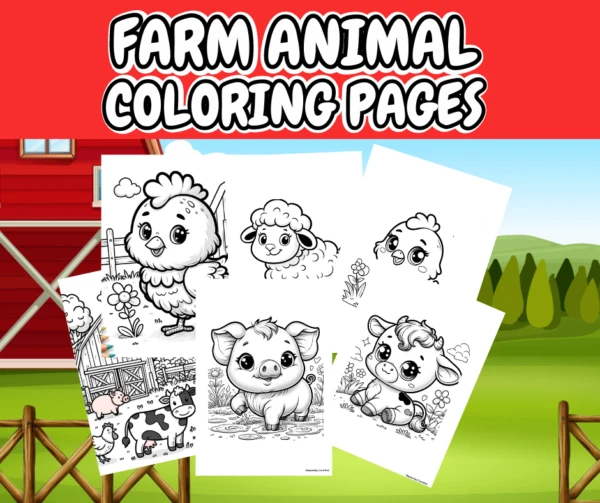
Looking for more animal crafts for kids? Check out our farm animal crafts, farm animal coloring pages, and zoo animal crafts for kids!


Extending your Activity
Here are some ideas on how to use the Handprint Groundhog Paper Bag Puppet for educational purposes:
Use the puppet to explain the history and traditions of Groundhog Day.
Have your little ones put on a play that narrates the story of Punxsutawney Phil and the superstition surrounding his shadow spotting.
- Science of Shadows:
Engage children in a simple science experiment using their groundhog puppets.
Take the puppets outside or use a lamp indoors to show how shadows are created.
Discuss why the groundhog’s shadow might be visible on some days and not on others.
- Weather and Seasons:
Create a dialogue with the puppet about different types of weather and how the seasons change.
The groundhog can ‘predict’ the coming of spring and explain how animals adapt to different seasons.
- Emotional Intelligence:
Use the puppet to talk about feelings and emotions.
The groundhog can express how it feels about seeing its shadow or the prospect of six more weeks of winter, encouraging children to explore and express their feelings.
- Storytelling Skills:
Invite children to create their own stories featuring the groundhog.
This encourages creativity, narrative skills, and language development as they invent adventures for their puppet.
- Habitat Study:
Discuss the natural habitat of groundhogs, what they eat, and their lifestyle.
Kids can use the puppet to explore concepts of burrowing and hibernation, integrating lessons on animal behavior and biology.
- Art and Color Theory:
As children choose colors for their puppets, introduce basic color theory.
Discuss primary and secondary colors, patterns, and how colors can convey mood or tell a story.
- Fine Motor Skills and Sequencing:
The act of gluing, cutting, and assembling the puppet reinforces fine motor control.
As children follow the steps to create the puppet, they’re also learning about sequencing and the importance of following directions.
- Dramatic Play:
Puppet shows can be a platform for dramatic play, which is crucial for social development.
Children can use the puppets to interact with each other, practicing conversational skills and cooperation.
- Cultural Significance:
Talk about different traditions from around the world that involve groundhogs or similar animals.
This can broaden children’s cultural understanding and appreciation for diversity.
- Environmental Education:
Use the craft to spark a conversation about wildlife conservation and the environment.
Discuss how we can protect the habitats of groundhogs and other creatures.